Pumpkin Pie for World Vegan Month

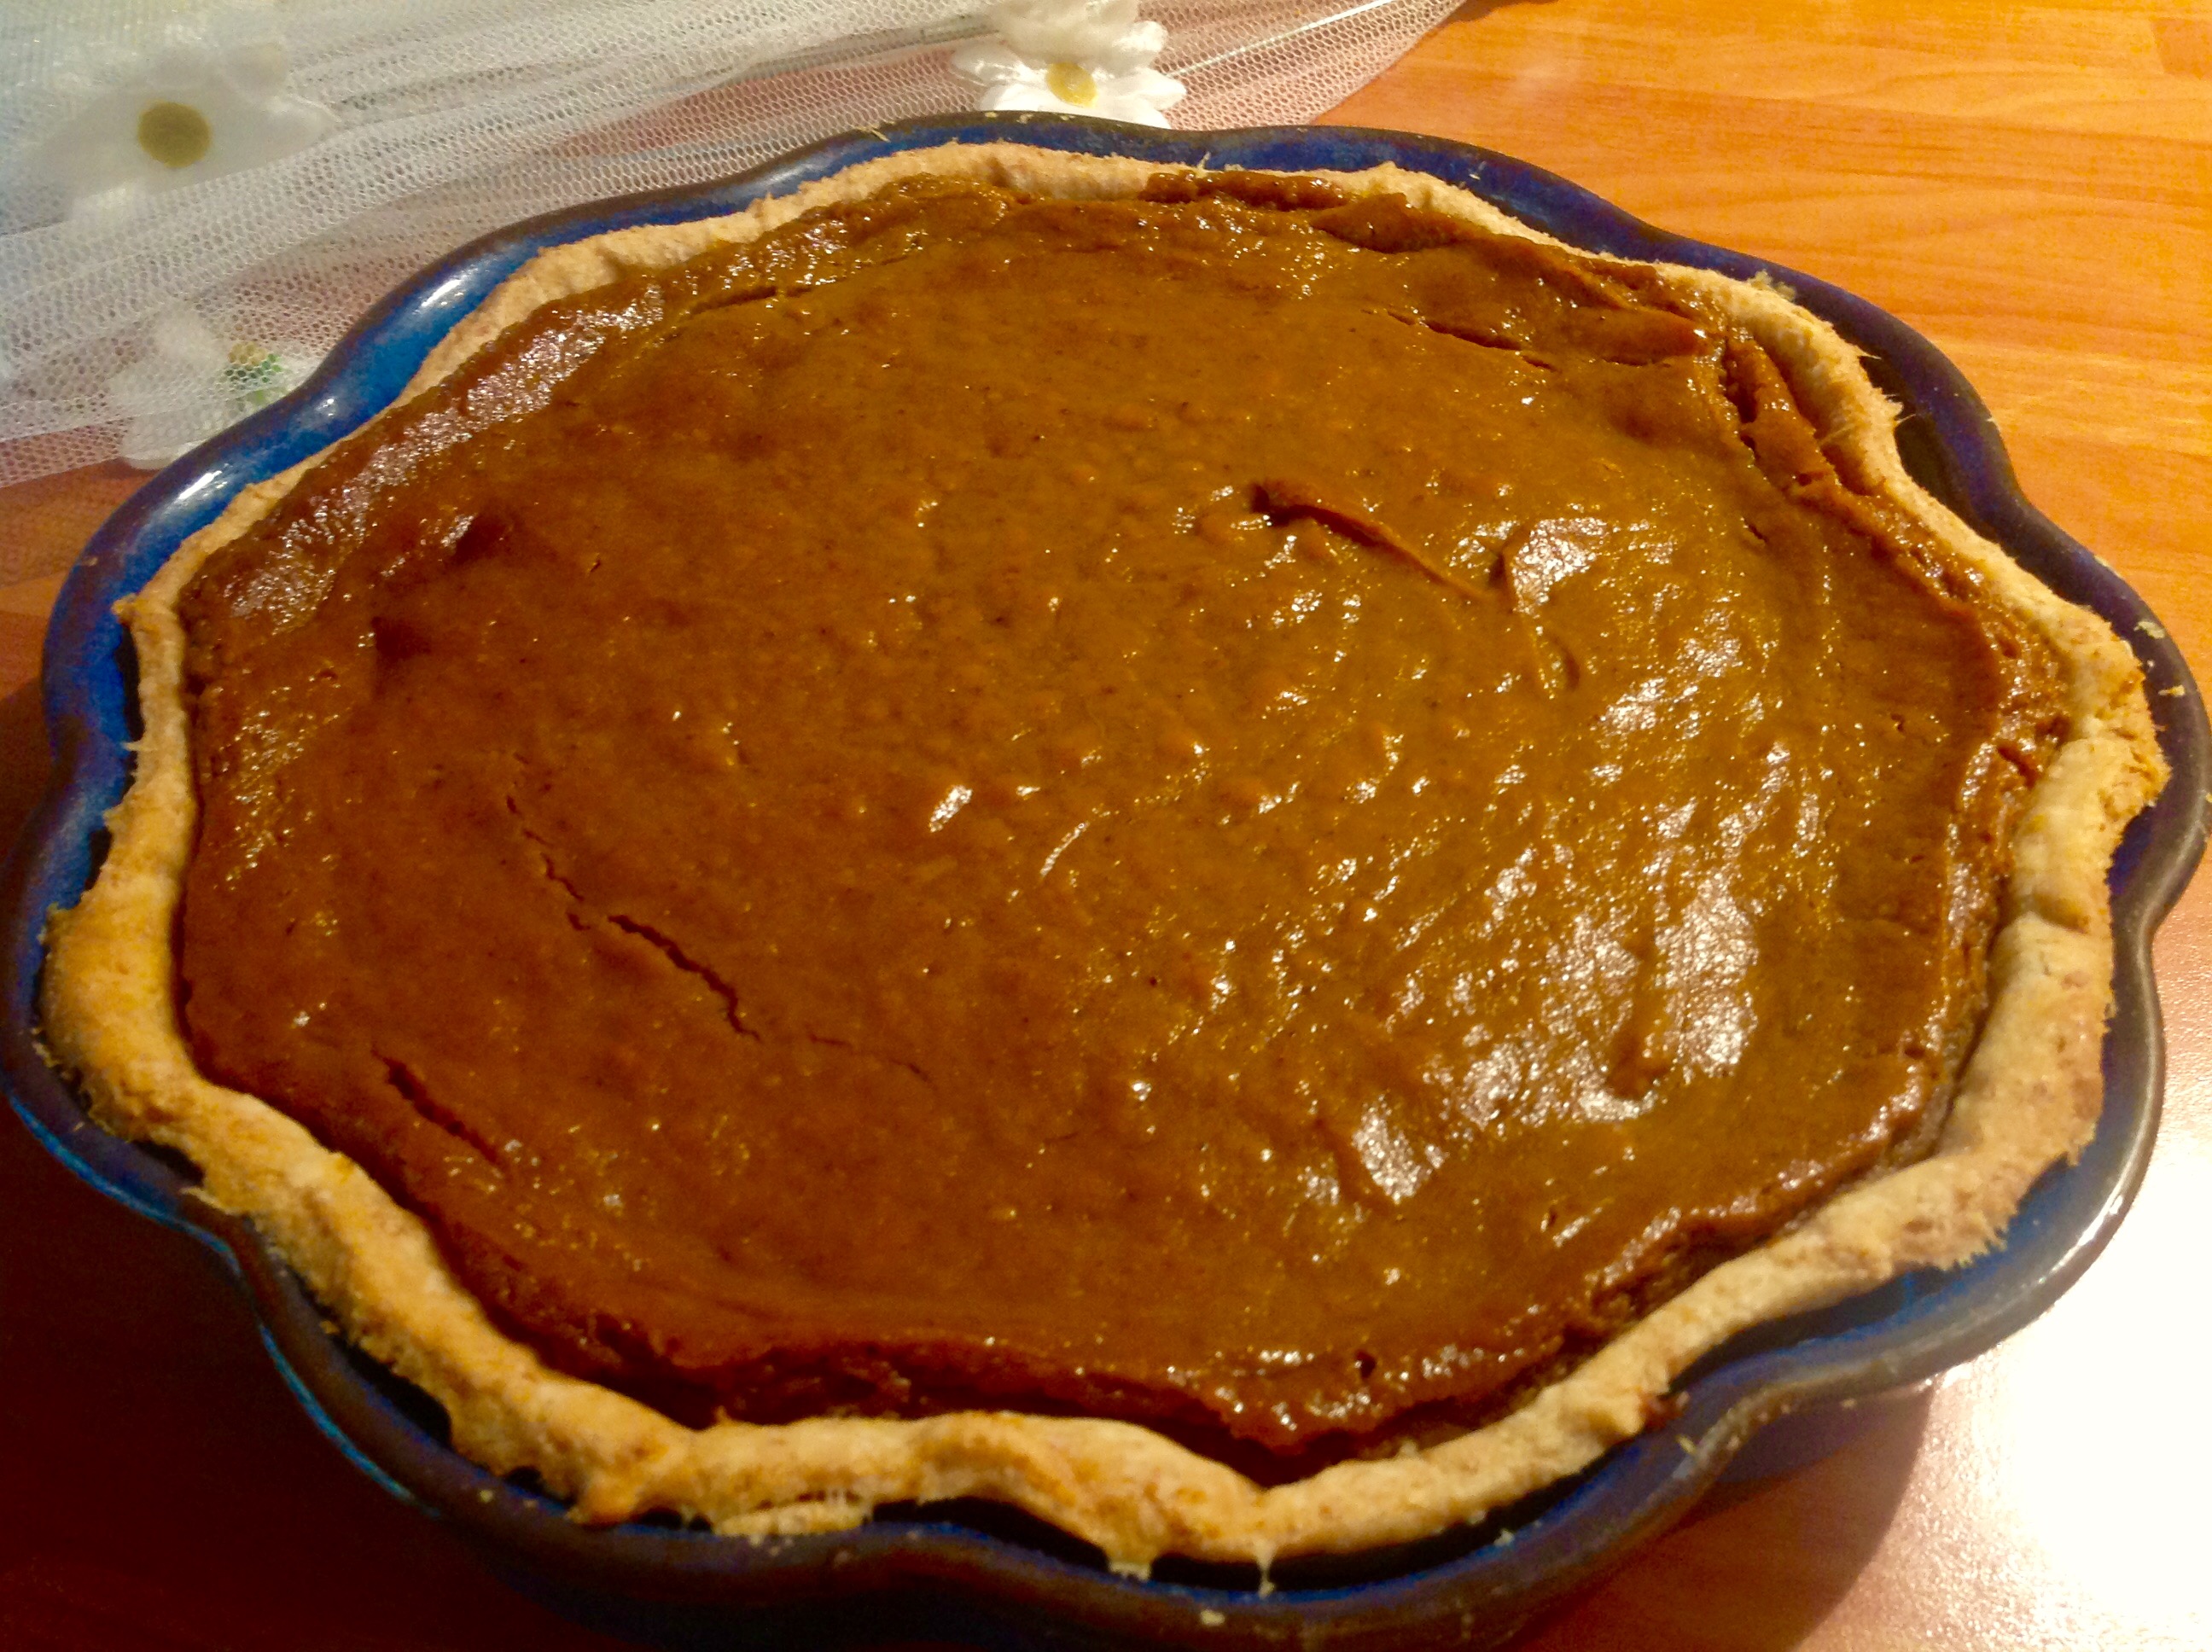
As Christmas approaches, and with Thanksgiving in the US this week, I thought my vegan pumpkin pie recipe might go down well. I adapted my original recipe (which you can also find on my recipes page) using alternatives for the eggs and milk, and the result was amazing… it tasted fantastic, full of flavour and nobody would ever guess it’s vegan!

I invited a friend over to test it, and the verdict was a definite thumbs up!

So here it is:

Vegan Pumpkin Pie

img_3396

Pie crust:

  • 225g (1 4/5 cups) plain flour
  • a pinch of salt
  • 100g (3 1/2 oz) vegan butter

Filling:

  • 425 g (15 oz) pumpkin puree
  • 125 g (2/3 cup) brown sugar
  • 4 tbsps maple syrup
  • 100 ml (2/5 cup) canned full-fat coconut milk
  • 4 tbsps unsweetened almond or soya milk
  • 3 tbsps cornflour
  • a pinch of salt
  • 1 tsp allspice
  • 1 tsp cardamom
  • 1 tsp cinnamon
  • 1/4 tsp ginger

img_3393

Method:

Grease a 23 cm pie or flan dish. Rub the butter into the flour and salt until fine and crumbly, then add just enough cold water to bring the dough together. Wrap in clingfilm and chill for at least 30 minutes. Preheat the oven to 180°C.

Roll out the pastry to fit your pie dish. Place some greaseproof paper on top and fill with baking beans. Bake blind for about ten minutes. Remove the beans and paper.

Blend all the filling ingredients together. Pour into the pastry case and bake in the oven for a further 40 – 50 minutes.

Leave to cool and then chill for a few hours or preferably overnight.

img_3401

Serve with vegan whipped cream and enjoy! 

Wishing all American readers a Happy Thanksgiving!

😀

In a Vase on Monday: Sugar and Spice (and all things nice)

It is one of those grey, wet, chill days, where venturing further than just outside the back door is not at all appealing. Nevertheless I managed to find a few items without getting wet so that I could join Cathy at Rambling in the Garden again for a Monday vase.

Vase21st1

This dear little sugar bowl was the inspiration for today’s vase, along with some cinnamon sticks which still haven’t been put to good use. The crystalized sugar next to the vase is perfect for adding to spiced winter teas too.

Vase21st3

Some silver fir, hellebores, heuchera leaves, beech twigs and a few violas from the patio were enough to create a small but satisfying arrangement, with little time on hand!

This will probably be my last vase of 2015, as I will be away next week. So thank you to Cathy for the inspiration and encouragement, and especially your dedication in hosting this meme.

I’ll be posting one more time this week, but for all those too busy to drop by again, and to my fellow Monday vasers:

I wish you all a very Merry Christmas!


Christmas Cookies: Linzer Cookies (Vegan)

Cookies3

A novelty twice over for me – not only are they the first Linzer Cookies I have ever made, they are also my first vegan Christmas cookies – and I am absolutely delighted with the results!

I must give all the credit for the recipe to a wonderful vegan cook and baker, Stina Spiegelberg. Her blog Vegan Passion is also written partly in English, so please do go and visit her. Even better, if you know some German then buy one of her books. I bought her Vegan Xmas cookbook recently and have tried her delicious non-cheese “cheescake” (Zupfkuchen) already too.

VeganXmas

Stina, you have made my first vegan Christmas a delight!

Linzer Cookies

Cookies2

  • 4-5cm round cookie cutter and small cookie cutters for the centres
  •  460g (3 and 3/4 cups) wholemeal (spelt) flour
  • 80g (1/2 cup) ground hazelnuts
  • 100g (1/2 cup) sugar
  • 1 tsp baking powder
  • 1 tsp cinnamon and 1/2 tsp allspice
  • 250g (about 2 sticks and 2 tbsps) vegan butter
  • 4 tbsps soya milk
  • 200g (7 oz) raspberry jam/jelly (I prefer the seedless jelly 😉 )

Mix all the ingredients together except for the jam. Add the soya milk at the end as you bring the dough together to form a smooth ball. Then chill it for at least 30 minutes, wrapped in clingfilm.

Preheat your oven to 180°C/350°F and line large baking trays with greaseproof paper. Roll out the dough on a floured surface to about 3mm thickness. Cut out circles using a 4-5cm cookie cutter. In half of the circles cut out tiny hearts, stars etc from the centre. You are aiming to make about 50 cookies.

Bake for 10-12 minutes. Don’t let them get too brown! Let them cool on a rack and then spread the jam over the bottom halves and gently press the top halves onto them. You need about a third to a half a teaspoon per cookie.

The jam filling does mean that they go a little soft after a day or two, but they still taste wonderful and can be kept for a couple of weeks in an airtight tin.

Cookies1

Have you done any Christmas baking yet?


Gooey Chocolate and Cardamon Cake

All those who came on my virtual garden tour a few days ago were promised a slice of cake, and  this is what I had in my kitchen to go with a nice cuppa…

ChocCake1a

After tidying up my spice cupboard recently and discovering some fresh and oh so aromatic ground cardamon, I decided on a chocolate cardamon mix. Adapted from my Swedish Visiting Cake, it has no baking powder in it, so it stays dense and gooey in the middle, a bit like a brownie. Look at that gooeyness!

ChocCake2

Chocolate Cardamon Cake

Preheat your oven to 175°C (350°F). Grease and flour a 23cm (9 inch) baking tin (loose-bottomed if you have one).ChocCake3

Melt 110g (1 stick) butter and 25g dark chocolate and allow to cool a little. Meanwhile whisk 225g sugar (1 cup) with 2 eggs until creamy. Add 1 tsp vanilla extract. Fold in 110g sifted flour and 3 tbsps cocoa powder (this should make up 1 cup altogether), a pinch of salt and 1 tsp cardamom. Gently stir the cooled melted butter/chocolate into the batter. Pour into the baking tin and bake for 20-25 minutes. Check towards the 20-minute mark as you don’t want to bake it too long or that lovely gooey centre will dry out.

Leave to cool before removing from the tin, or serve warm – directly from the tin. You could sprinkle it with a little icing sugar if desired.

ChocCake4

Delicious served with fresh flowers fruit.

Enjoy!

Spice Cupboard Inspiration

Alys, who is a dear blogging friend at Gardening Nirvana, is good at organizing stuff – in fact that is her job, organizing people. So when she asked in a recent post about where we need help with organizational matters, I immediately thought of my spice cupboard… and the large tupperware container of herbs in another cupboard taking up much needed space in my small kitchen.

My spice cupboard is one of those shallow ones above the stove. Not ideal in terms of “keep your herbs and spices cool and dry”, but what else can I put in there?! Here it is after being emptied…

SpiceCupboard

(The panel at the bottom is missing due to the dormouse… a long story you can read about here.)

Alys is such a treasure – she immediately put her thinking cap on and produced a great post all about organizing herbs and spices. I was inspired!

So, step one is “gather and review”… what chaos!

HerbsBefore

The “consolidate” and “purge” steps came next: I had to be rigorous and throw out things I really never use or that are way too old. But I also discovered some curry spices I had forgotten about, and some fresh cardamon… mmm, that smells so good. My favourite! Do you have a favourite spice?

(The cardamon inspired a cake last weekend and I shall share the recipe with you very soon.)

As I already had quite a few metal jars which are stackable I decided to invest in some new ones to match. A good decision I think… Here is what it now looks like, after a couple of hours of cleaning old jars, re-labelling and organizing:

SpiceCupboardRefreshed

Ahhh, that’s better.

Thanks Alys!

🙂

For all you gardeners out there, Alys also did a very useful post on how to organize your gardening tools.

If you have any organizing challenges Alys would love to help, so go and visit her at “Gardening Nirvana“. 😀

World Vegan Month Recipe 2: Golden Vanilla Cupcakes and Cinnamon Crunch

Do you have cravings for cinnamon and spice at this time of year? I do! And when I walk around the Christmas market next month I will inhale deeply and tuck into some warm roasted almonds, some spicy mulled wine and maybe a cinnamon crepe pancake too! This cupcake/muffin embodies those fine aromas: vanilla, cinnamon, cardamom and allspice are in here – enough to pack  a real  punch of flavour as well as making the kitchen smell delicious.

And guess what – they are vegan too!

VanillaCupcakes2

The basic recipe for the golden vanilla cupcake comes from “Vegan Cupcakes Take Over the World” by Isa Chandra Moskowitz and Terry Hope Romero. But the filling/topping is my own “invention”.

Golden Vanilla Cupcakes with Cinnamon Crunch

VanillaCupcakes1

For 9 muffins or 12 cupcakes

Prepare your muffin tins and cases, preheat oven to 180°C

First make the cinnamon crunch:

Mix together 50g (1/4 cup) brown sugar and 35g (1/3 cup) chopped walnuts with 1 tsp cinnamon, 1/2 tsp allspice and 1/2 tsp cardamom.

Cupcakes

In a large bowl mix together and set aside

  • 250 ml (1 cup) soya milk
  • 1 tsp apple cider vinegar

Into a small bowl sift together:

  • 150 g (1 1/4 cups) plain flour
  • 2 tbsps cornflour
  • 1 tsp baking powder
  • 1/2 tsp baking soda
  • 1/2 tsp salt

Now add to your milk/vinegar:

  • 75 ml (1/3 cup) vegetable oil – I used neutral tasting rapeseed oil (canola in the US)
  • 2 1/2 tsps vanilla extract
  • 150 g (3/4 cup) sugar

Mix well with a fork and then add the dry ingredients, whisking to remove any lumps. (No mixer required! 🙂 )

Spoon half the mixture into cupcake/muffin liners. Spoon half the cinnamon crunch on top, then pour the rest of the mixture over the tops of the cupcakes. Sprinkle tops with remaining crunch.

Bake for 20 minutes or until golden brown and firm to the touch. Leave to cool on a rack, or even better – eat them warm out the oven! 🙂

Look at that gooey centre and crunchy topping! Yum!

VanillaCupcakes3

Enjoy!

World Vegan Month Recipe 1: Tofu Wraps

Although I am vegetarian, and not vegan, World Vegan Month seems a good month to share a couple of  good vegan recipes with you.

Over the past year I have been trying to cut down on dairy produce, and the result has been a lot of experiments… some more successful than others! Seitan and similar meat substitutes are completely superfluous to someone who hasn’t eaten meat for over 20 years; cheese substitutes are mostly inedible (my opinion!); tofu, however, is a lifesaver – I love it! This first recipe I want to share uses tofu and has become a favourite, partly because it is such an informal affair… i.e. you get sticky fingers eating it! 😉

Tofu Wraps

TofuWraps1

For the marinated tofu you will need:

  • 200g (7 oz) firm tofu, cut into narrow strips
  • 2 tbsps tomato puree
  • 4-5 tbsps olive oil
  • 1 tsp garlic powder
  • 1/2 – 1 tsp salt
  • 1 tbsp mixed dried herbs
  • plenty of freshly ground black pepper
  • any other herbs or spices you fancy adding, such as chilli, coriander, onion powder etc

Spread the tofu strips over the base of a large dish or baking tray and cover with all the marinade ingredients. Do this as early in the day as possible, or even the night before, so the tofu can absorb all the flavours. Stir a few times during the day. I give mine about 10-12 hours to marinate.

TofuWraps2

For the wraps:

  • 4 large soft tortilla wraps, warmed
  • 1/2 an iceberg lettuce, cut into smallish chunks
  • 2 tomatoes, sliced
  • 1 large onion, thinly sliced

For the tsatsiki, mix all the following ingredients together and let stand a few minutes before serving:

  • 220ml (1 cup) (soya) yoghurt
  • 1 clove garlic, minced
  • squeeze of lemon juice
  • 1/2 small cucumber, cut into very small chunks
  • salt and pepper

Just before you are ready to eat, heat a little sunflower or olive oil in a skillet/frying pan and on a medium to high heat fry the tofu, marinade and all, turning frequently, until warmed through and slightly crispy.

TofuWraps4

Now the fun part! Place a wrap on a plate, sprinkle lettuce on the centre and then bits of tofu, salad and finally tsatsiki. Then wrap!

The packet showed us how…

TofuWraps3

… but I will spare you the photos of us eating! 😉 The challenge is to eat this without any sauce dripping out… practically impossible, but that’s what makes it such a fun meal. 🙂

What do you do with wraps?